Each one of my three kids has gone through a phase where the only thing they want to do, is break all of our crayons. Whether it’s the honest mistake by pressing too hard (like Ava) or the more barbaric and blatant anger (like Charlie and Mason) raged against the colorful sticks. Despite their cause of death, Ava, especially, likes to peel the broken end to try and continue using them.
Herein, lies the benefit of this crafty DIY project deemed: OPERATION CRAYON SAVER.
In actuality, we’ve been doing this with the kids for a few years, it’s just taken me this long to write about it. It’s always fun for them, they love to “cook”, even non-edibles. I can’t help but think this will help with some fine motor skills in peeling crayons, and you color-geeks can add some “lessons” in sorting (i.e., reds and pinks together, yellows and oranges together) or differentiating between primary and secondary colors and how they play nice (or not so nice) with each other.
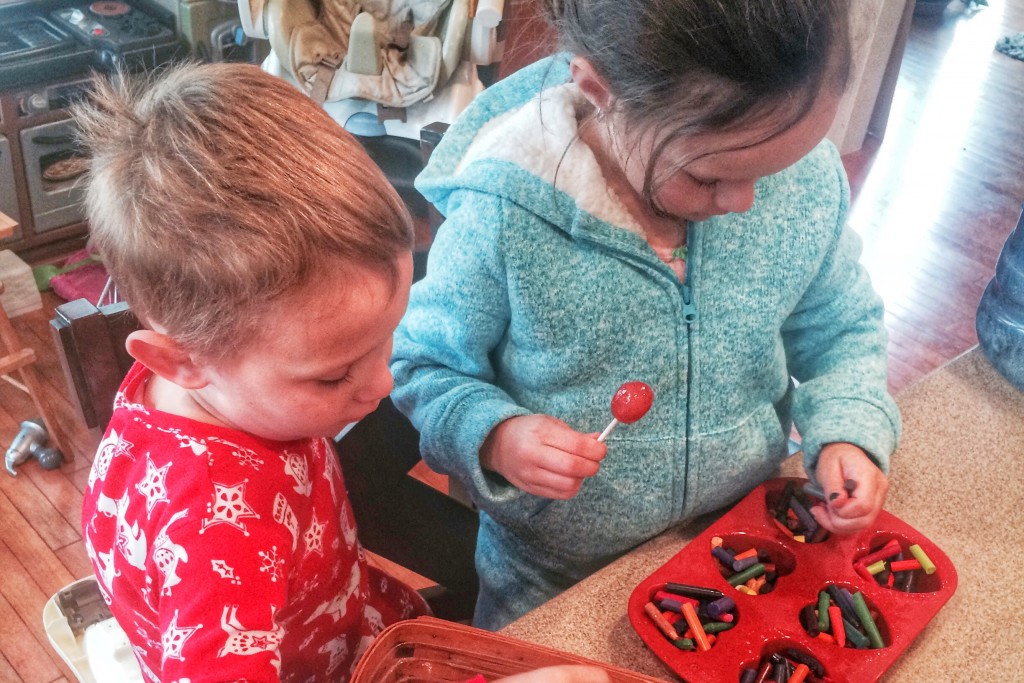
Start with having your kids peeling the wrappers, if you have enough stubs built up (we like about 2 cups) you might actually have enough time to sit down, eat and taste your lunch instead of purely inhaling it. We always keep a pile of nubs accumulating in a bucket. It’s either that, or throw them away, but that’s wasteful, says my wife.
- Preheat the oven to 350 degrees.
- Spray a silicon cupcake pan with cooking spray (this eases removal and also aids in the cleanup process!) I’ve done this once before with my wife’s good metal cupcake pans and came close to divorce—we prefer the Wilton silicon molds…
- Allow the kids to fill each hole full of crayons—here is where you can determine the thickness. Just make them all fairly even so that the cooking/melting time is equal.
You’re done with all the prep. EDITOR’S NOTE: make sure that you put a good balance of light and dark colors—reds, yellows, oranges, pinks, whites and teals add a really nice pop of color against the blue, green, purple, brown pieces…who’s the color-geek now?
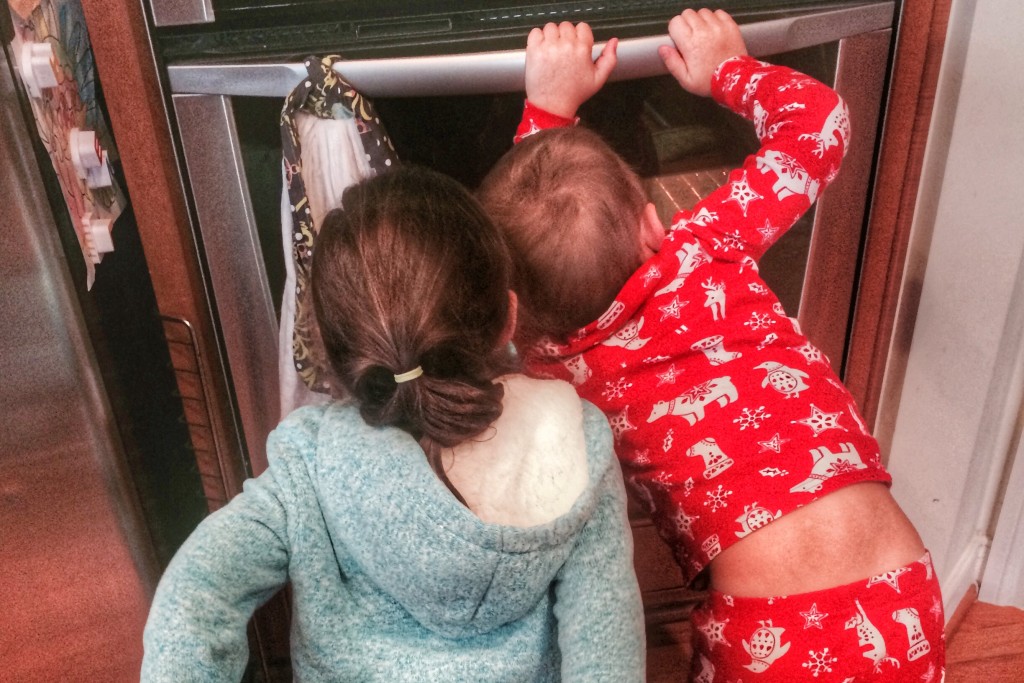
- Bake (or rather MELT!) for approximately five minutes. I try to catch them right as the last crayon looks like it’s melting, and pull the tray out. Be careful that you don’t spill melted wax on yourself (unless you’re into that kinda thing wink wink) or your clothes… it will be liquified.
- Immediately top with glitter or even confetti (we used several shades of very fine glitter as well as star confetti). OR don’t do either of those if you’re like me and hate them.
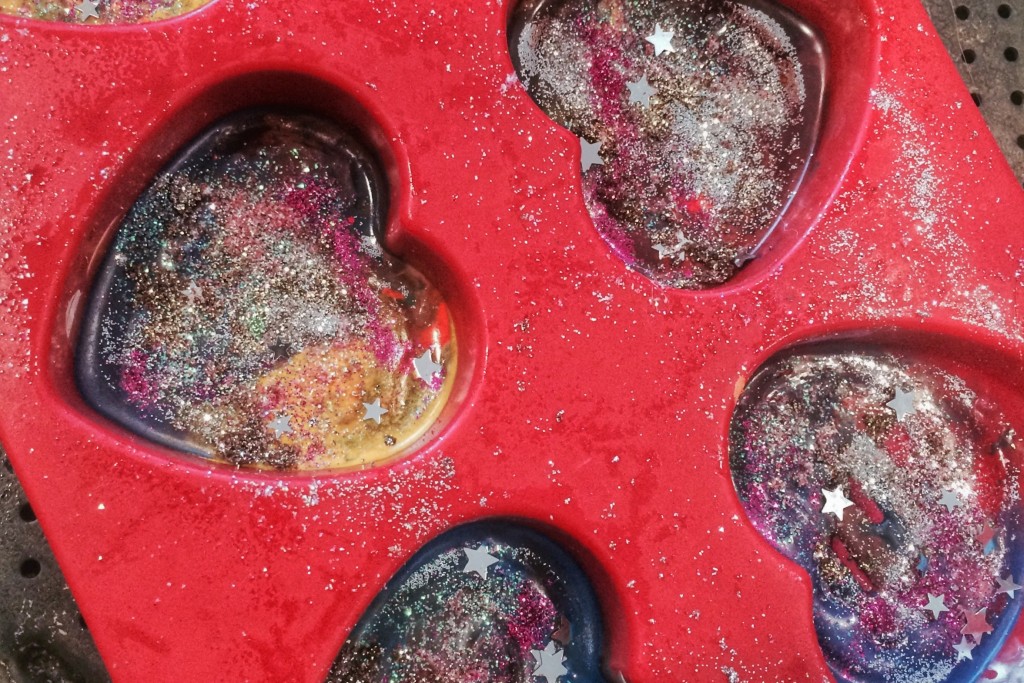
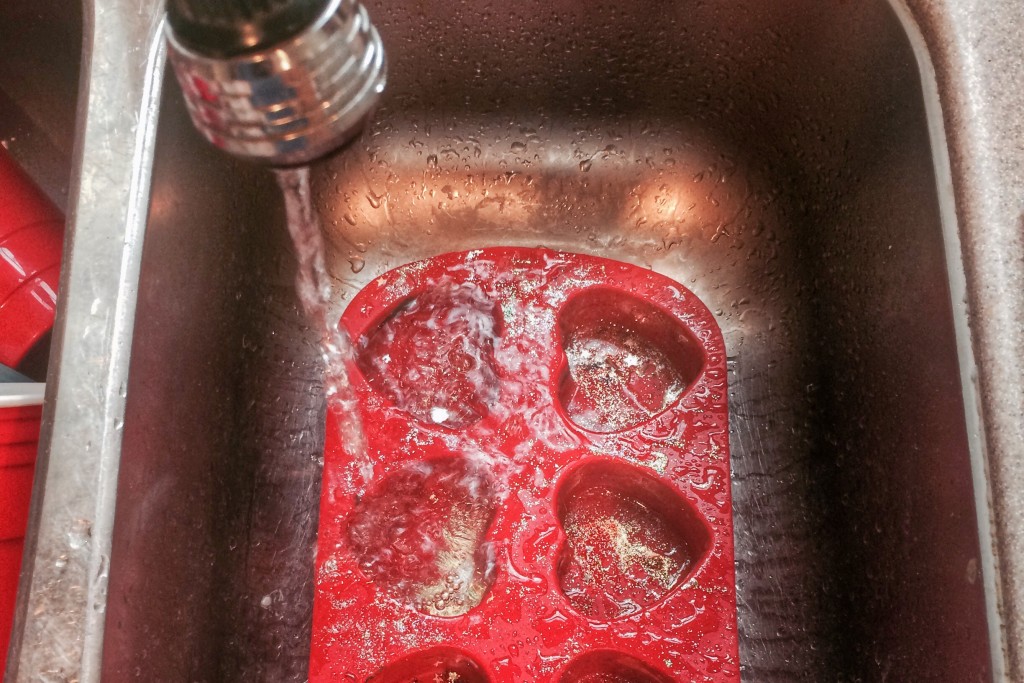
- Allow to cool. This doesn’t take nearly as long as you would suspect—around ten minutes to set.
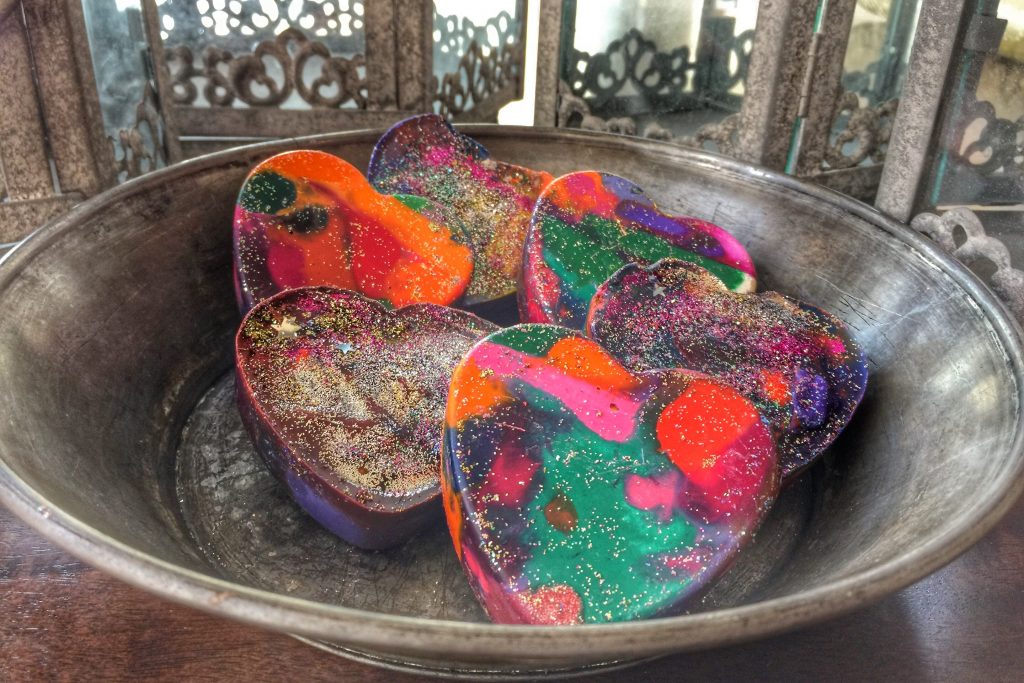
- Pop gently out of the silicon molds and KA-POW!
Great as party favors, class Valentine gifts (“You Color My World, Valentine”), Halloween colors, Christmas colors, etc. Experiment with colors and shades.



[…] Valentines. The 3-D non-candy Valentine has made it’s way onto the scene, as well as the heart crayon DIY attempted by ourselves for the first time several years ago and perfected this year with the […]